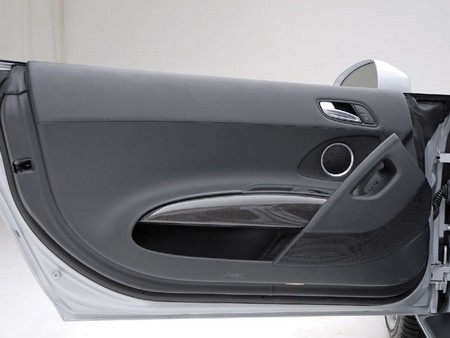
If you have had sunscreen suction cups disappear down into the bowels of your car door after accidentally activating the power windows, then you would have wished you knew how to remove a door panel. In fact, it’s not as difficult as it first seems, although most novice door panel removers will need to proceed slowly and patiently.
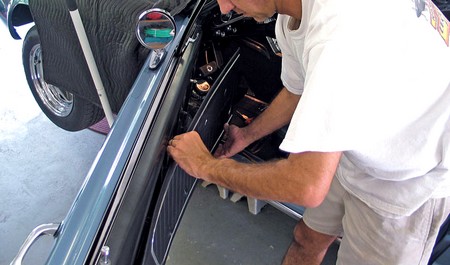
The most important thing in knowing how to remove a door panel is first gathering all the right tools for the job. Proceeding slowly with the right equipment is better than carrying out a hasty pry and pull job with anything at hand. The latter may result in a visit the salvage parts dealer for a replacement panel, which is of course a costly lesson in patience. Have on hand a set of screwdrivers, a small flashlight to peer into the panel, an L-pick and a socket and ratchet.
First, you will need to detach everything connected to the door on the visible part of the panel. This includes arm rests and door handles. Remove all visible attachments and keep a sharp eye out for any hidden fasteners, screw or clips that may elude you and frustrate your efforts. The power window assembly can be pried away from the panel, and the wiring harness can be unplugged. In the case of manual wind-down windows, the crank may have a hidden clip that has to be removed to guarantee it keeps working after the panel is reassembled. This is where your L-pick will come in useful.
You will need tools that can slide under the panel and grip any fastener, or grommet, you see. A good hard yank absolutely will not do the trick here. Pry the panel gently from the fastener to ensure it does not break into pieces. Detach the door panel from its fasteners one at a time so that the panel stays intact. When you’re sure the panel is completely detached from the fasteners, pull it up and outwards to remove it. Repair or remove what is necessary, making sure not to damage the protective plastic covering. This plastic covering has to be put back in place as you found it because it prevents moisture from damaging the interior of the panel.
With the repairs or object removals carried out as needed, the panel can then be fitted back into place as carefully as it was removed. Working in reverse sequence, reattach the panel to its fasteners first before refitting everything else

