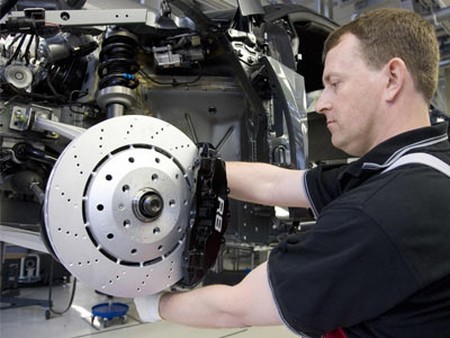
You would not want to compromise on brake pads because your life depends on them. It is the stopping power that prevents you from going ‘kamikaze’ into a pile of concrete block. Brake pads on a front disc provide better stopping power compared to rear drum brakes because they are well ventilated thus cools off faster.
Besides that they are considerably easier to inspect compared to drum brakes which are obscured. Thus this tip will provide tips on how to change brake pads of a disc brake.
To confirm that your brake pads are really a goner, you should experience the car is pulling to one side during braking and squeaking or grinding noises when the brakes are applied. Another obvious sign would be the pedal goes farther toward the floor than normal. If these symptoms are obvious, then the below tips will be helpful.
To perform this job, you will require gloves, replacement pads, basic hand tools, a C-clamp and high-temp grease.
Raised your car using a jack and leave it on a jack stand. Secure the back wheels so that the car is in complete standstill. Remove both sides of the wheels. Start unfastening the caliper from its mount. You’ll only work on one side while leaving the other side as reference. You will be able to see two pads, one on each side of the rotor. Use the C-clamp to compress the caliper piston into the caliper housing. This will make it very convenient to remove the calipers assembly. Unbolt the calipers mounting and retract it away from the motor using the correct hand tools. Finally, the old worn out pads are free to go. You can visit Garage Chief to understand the functions of a car jack.
Before assembling everything back, remember to inspect the calipers for signs of fluid leaks or any signs of abnormalities. Also, do check the rotor for any surface defects such as hairline cracks or unusually deep groove. If any of these signs are obvious, then seek professional help.
With a pair of new pads in hand, carefully insert the inner pad first and then the outer pad by depressing the caliper’s piston into the housing. Once both are securely in place, put the calipers back into the rotor and tighten all bolts and nuts.
Repeat the same process for the other side of the wheel. Once finished, put both wheels in place and then lower the car to the ground.
Test your brake by gently depressing it while driving at low speed. Be sure that it has got good grip before entering traffic. This simple DIY saves you a lot of hassle plus it is light on your wallet.


