Over time, deposit and sludge may accumulate in the radiator causing lower cooling efficiency and life span. Rust from corroded radiator wall may clogged the fins causing the water pump to work exceeding it limits therefore making it prone to failure. Common myth on the stop rust coolant may not be completely true because over time the composition of rust inhibitor degrades causing rust to appear. Therefore it is wise to flush the radiator and the entire cooling system at constant interval.

The below guide will demonstrate easy tips on how to flush a radiator.
To perform this DIY, it is best to head over to the local hardware shop to grab a couple of handy tools. A pair of leather gloves would be useful in protecting your hands when working near engine components. Check the radiator drain plug to determine which tool to purchase for easy removal of plug. Get the radiator flush solution, coolant, funnel and a cloth rag.
Make sure your car engine compartment is cool before start work. Use the cloth rag to cover electrical engine parts such as the distributor, battery terminals and the fuse box.
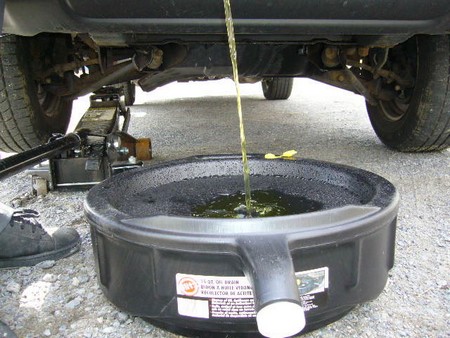
Proceed to remove the radiator cap which is situated on the top side of the radiator. Remove also the drain plug which can be found on the bottom side of the radiator. Let the contaminated coolant flow out of the system. Observe whether the coolant’s color. If it is brownish in color, that is rust. Position the water hose into the top of the radiator inlet and turn on the tap. Go easy on the tap; I am sure you do not want water splashing all over your engine bay. Let the water flow for a few minutes until clear running water coming out from the outlet. After the water from radiator completely drained, position the tap on the bottom side of the radiator and allow water to run.
Then, with the drain plug inserted into the radiator bottom side, empty the can of radiator flush solution into it and top up with water. Place the radiator cap back to original location and turn on the engine. Allow the water pump to circulate the flush solution to every part of the system to loosen the grime. Run the engine for a good 5 minutes and repeat the earlier steps of flushing.
By now the flush water must be clean and crystal clear. Fill in the coolant and top up with distilled water. Ensure that the drain plug and radiator cap is securely tightened. Use the rag to clean any traces of water.
This simple DIY saves you costly radiator repairs which you might incur in the future.

