We’ve all been there before: no matter how careful a driver you are, you backed the car up too quickly and destroyed your mailbox as a result. Now, there’s a hideous, embarrassing indentation in your bumper that could cost you hundreds to repair. Suddenly, you remember what your cousin always said, if you knew how to remove a bumper, or any other part of a car that needs replacement, you wouldn’t have to visit the auto repair shop for every little thing!
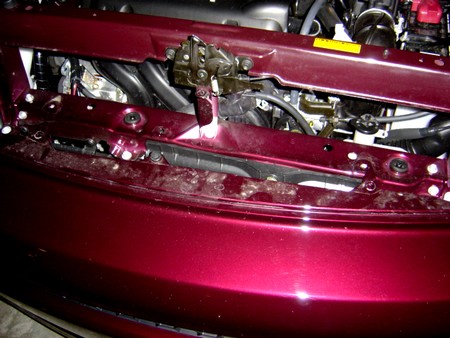
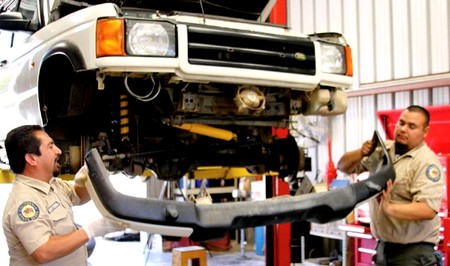
It doesn’t take very great skill or years of practice to know how to remove a bumper. What you do need, however, is time and patience, as well as an ability to keep track of the detachable parts involved as you work methodically. Generally, there are two plastic screws to be found at the top of either side of the bumper. These are visible when the trunk is open and are loosened and pulled out. Remember to store all loose parts safely and label the relevant parts where necessary as you go along.
Working your way down the bumper, loosen the 4 plastic rivets before you start on the 4 flat plastic caps that cover yet more screws. These plastic caps can be pried off with a flathead jeweler’s screwdriver to expose the aforementioned screws underneath, which are also to be removed. You should know the drill by now. Moving along, locate the 4 plastic fasteners that are accompanied by plastic screws. Loosen these and pull out the fasteners.
This takes care of the top part of the bumper. You might want to put down something to protect your clothes from the dirt for the subsequent steps, but you shouldn’t be wearing new clean clothes when working on a car in any case.
So, to get back on track, there are 2 screws located underneath the car that hold the bumper in place. These, like all the other fasteners top-side, need to be removed. There are also 2 screws in either wheel well, making 4 in total, that also have to be removed. Going further underneath the bumper, locate and remove the 2 plastic fasteners that are found off-center from the bumper. This is done by prying them loose, taking care not to damage any paintwork.
You’re almost done now, but there still remain up to 4 nuts that are the last remaining components attaching the bumper to the car. There should be 2 on each side of the bumper and are removed before the bumper can finally be completely detached. This is where an assistant will come in handy when you pull the sides of the bumper away from the car.

