Working the gears is usually an autopilot process, stepping on the clutch pedal disengages the clutch, thus allowing gears to be shifted. As time passes, grinding noises will indicate you need a new clutch. Knowing how to replace a car’s clutch will save you a visit to the workshop and probably a pretty penny in the process.
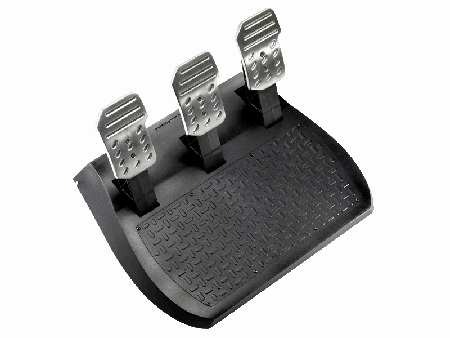
Keep an owner’s manual for your car close at hand for reference. Knowing the cause of your troubles is as good as knowing how to replace a car’s clutch. This means ensuring all is well with the activating cables, slave-master cylinder and pedal-arm bushings.
The clutch cable, positive battery cable or hydraulic slave cylinder should be unhooked to facilitate removal of the transaxle. Elements that get in the way, such as the speedometer and exhaust pipes should be disconnected. Working on a flat surface, block the rear tires of the car with chocks before jacking the front end up.
Before the transaxle can be removed, the engine must be stabilized with a jack placed underneath the oil pan. At least one engine mount must be undone for the transaxle to be removed. The transaxle is detached from the engine by removing the bolts surrounding the flywheel bell housing.
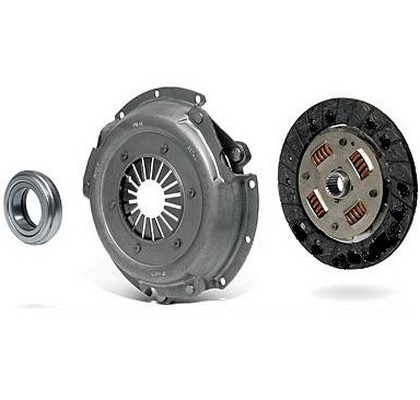
The transaxle is pushed away from the engine until the input shift is clear of the pressure plate, following which the bolts around the pressure plate are disengaged. The pressure plate and clutch disk are then taken out. The friction surface of the flywheel is examined for hot spots, scoring or checking. If needed, the flywheel should be removed and machined.
If in a pinch, or if you’re extremely frugal, the flywheel can be lightly sanded with medium-grit sandpaper. The pilot bushing at the center of the flywheel must be checked to ensure lubrication of the needle bearings and no galling is present. The rear main engine seal should be checked for oil leaks, which can contribute to early clutch failure.
To replace the clutch, the transaxle’s input shaft is checked for leaks and replaced if needed. The flywheel is taken out and a new seal put in. The crankshaft flange is cleaned before the flywheel is replaced on top of it. The bolts are secured in star formation to the torque specified for the car. Installation of the clutch disk and pressure plate follows, and a new release bearing is attached to the release fork before the transaxle is put in.
The transaxle is lifted and moved forward till the input shaft glides into the clutch disk’s spindled hole. Any bolts or mounts that were removed earlier should be reinstalled. The transaxle is secured before the jack is released and the vehicle lowered. Go for a test drive to ensure the new clutch works properly. If all else fails, then consider getting a professional to do a clutch repair.

