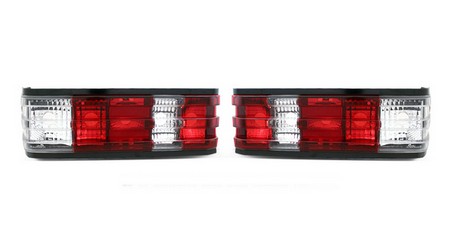
Regular tail light examination and maintenance isn’t just about avoiding being pulled over by highway patrol. You should know how to replace tail lights to ensure that you stay visible to other road users. Being situated in the rear of a car makes it difficult for brake lights to be monitored, and they can be subjected to all manner of flying debris and have a higher chance of burning out than headlights do.
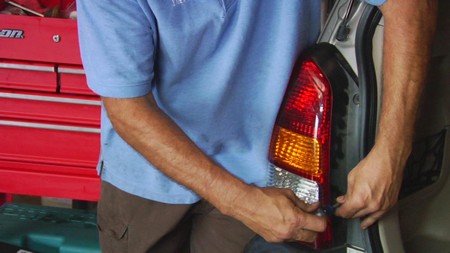
Some tail lights can be accessed by simply removing the lens cover from the outside of the car. Others involve bulbs that can only be unscrewed by going through the trunk of the vehicle. To determine the sort of light bulb housing you’re dealing with, just take a good look at the car! An absence of screws on the tail light lens is a strong indication that the faulty light bulb must be removed from the inside. If there are any screws, tabs or knobs on said lens cover, then the task of replacing the bulb is made much easier. Most of the time, a Philips head screwdriver is what anyone will need for the job, as well as replacement light bulbs, of course.
To know how to replace tail lights by accessing them from the outside of the car, simply remove the lens cover with the necessary means. Usually, the light bulb is removed from the socket by pushing in gently while unscrewing it. If you have removed all visible fasteners for the light bulb but to no avail, it is possible that there is one last fastener (sometimes more) on the inside of the car. This should be visible when the trunk lining is pulled back and easily unfastened. If you don’t already have a replacement at hand, take the non-functioning light bulb to an auto parts supply store as reference.
Before the new light bulb is affixed in to the socket, wipe the socket clean with a rag and clean the connection with a wire brush if any corrosion is evident. Screw in the new light bulb, pushing in and turning the same way you did when removing the first light bulb. Sometimes, the nodes on the base of the new light bulb have to be aligned with those in the socket before the operation can be carried out successfully.
Test to see if the bulb works by turning on your headlights and stepping on the brakes. If you don’t have an assistant to watch the new bulb, you can make do with a mirror or any reflective surface, such as a window. Lastly, put back the lens cover you removed in the very beginning of the operation.

