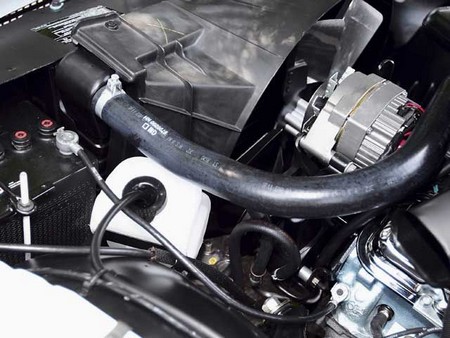
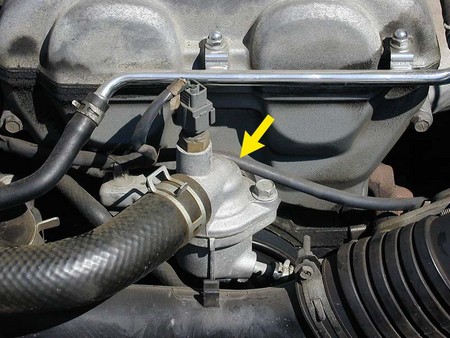
Of all the hoses a cooling system possesses, the upper radiator hose is the one that is most likely to fail as you are driving. Coolant will gush from the cooling system through a hole in the hose, causing the engine to overheat quickly. You will be forced off the road to await a tow truck. You can avoid this by carrying the following emergency-repair equipment in your vehicle:
- Roll of two-inch duct tape
- Utility knife outfitted with a new blade
- Screwdriver
- Upper radiator hose repair kit (available from auto supply stores)
- Two plastic one-gallon containers filled with water
- Flashlight outfitted with fresh batteries to be used if a hose fails at night
- Heavy work gloves
- Eye protection
1. The moment you get a whiff of the strong, pungent odor that characterizes escaping coolant, pull off the road and turn off the engine.
2. Put on some leather work gloves and eye protection, and open the hood.
3. Wrap several layers of duct tape around the tear in the hose to stem the loss. You will have no problem finding the split in the hose. You will see coolant coming out of it.
4. If you are again forced off the road, wait about 30 minutes for the cooling system temperature to get low enough so you can work without being burned. Use the utility knife to splice the hose at the split. Cut away enough so you can slip the coupling in the repair kit onto the hose.
5. Place the clamps in the repair kit on the coupling.
6. Attach the coupling to the two parts of the hose.
7. Position and tighten the clamps to lock the coupling and hose together.
8. Remove the radiator cap by pressing it down and turning until the cap hits the stop. Wait a few seconds for any pressure still in the cooling system to relieve itself before pressing down on the cap and turning it again to take it off.
9. Pour water from the plastic containers into the radiator until it reaches the top of the radiator filler neck.
It is now safe to continue your trip. However, at the first opportunity replace the hose and fill the radiator with antifreeze.

